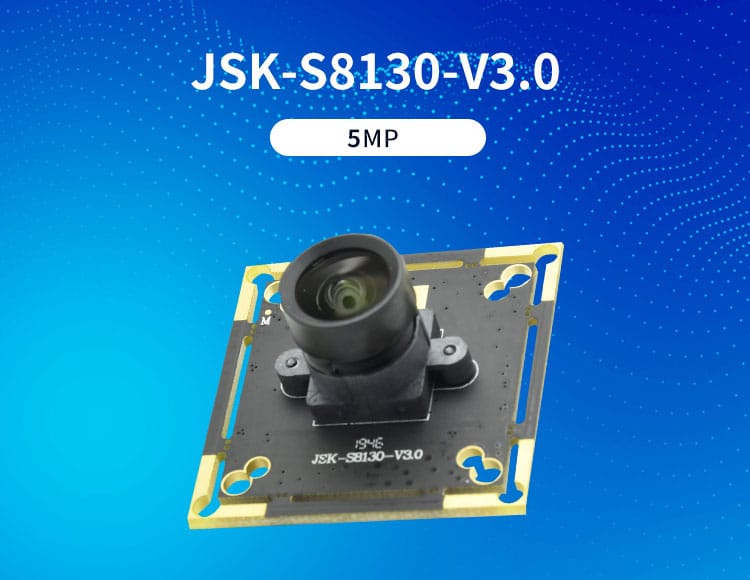
The connection mode of the USB camera module mainly depends on its application scenario and the type of device connected. Here are some common ways to connect:
Først, connect to a computer
Hardware connection:
A USB cable is available.
Plug one end of the USB cable into the USB port of the camera and the other end into the USB port of the computer.
Software installation and setup:
The computer usually automatically identifies and installs the drivers required for the camera. If there is no automatic installation, you can download and install the driver from the camera manufacturer’s official website.
After the installation is complete, you can check whether the camera has been successfully connected in the Device Manager of your computer.
Open the software that needs to use the camera, such as video call software and photo software, and select the camera as the video input device.

Sekund, connect to WiFi module (such as for remote monitoring)
Hardware connection:
Verify that the WiFi module supports the network camera function. If not, contact the manufacturer to obtain a module that supports this function.
Connect the USB camera to the USB port of the WiFi module.
A computer or other device is connected to the network of the WiFi module through a wireless network card.
Software Settings:
Go to the configuration page of the WiFi module (usually accessed through the default IP address).
In USB apps or Network camera Settings, enable the Network camera feature.
Set the camera resolution, frames per second, port and other parameters.
Use the software that supports webcam (such as mjpeg_viewer_win.exe, osv.) on the computer, fill in the IP address of the WiFi module and set the port number, you can view the monitoring screen of the camera.
Tredje, connect to LCD TV (for monitoring display)
Hardware connection:
Prepare a video cable of BNC turning lotus head.
Insert the BNC plug of the video cable into the BNC port of the camera.
Plug the other end of the video cable (lotus head) into the TV’s antenna signal input interface.
Power and signal source Settings:
Both the camera and the TV are powered on and activated.
Use the TV’s remote control to switch the TV’s signal source to TV mode or the corresponding video input mode.
Adjust the picture Settings of the TV to ensure clarity and color reduction of the monitoring picture.
It should be noted that different brands and models of USB camera modules and connected devices may have different connection methods and setup steps. Therefore, when connecting and setting up, it is recommended to refer to the instruction manual of the camera module and device or the guide on the manufacturer’s official website.
